How to Reduce PDF File Size Without Wrecking the Quality
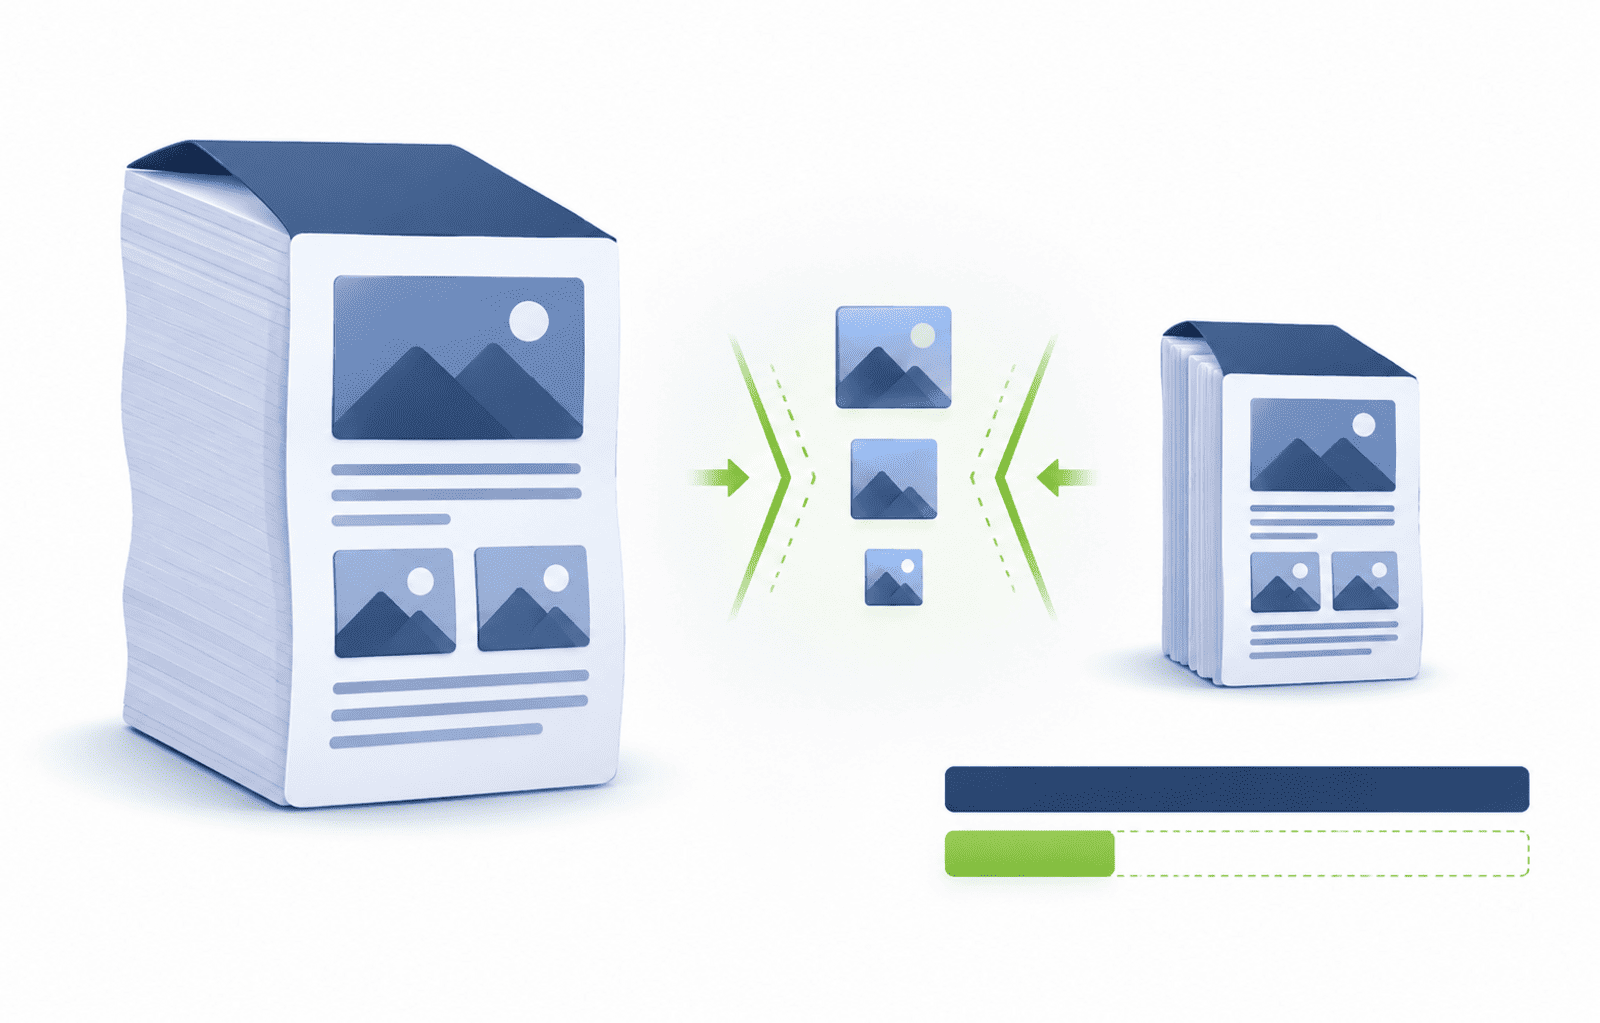
Nobody wakes up wanting to compress a PDF. They want to send it — and an email limit, an upload form, or a portal that rejects anything over a few megabytes is standing in the way.
That changes what "good compression" even means. The goal is almost never the smallest possible file. It's getting under the line while the document still looks the way it needs to. A 12 MB file squeezed to 11 MB is useless if the limit is 10; the same file at 4 MB that still reads cleanly is a win. So the real skill here isn't compressing hard — it's compressing just enough, and knowing when you've crossed from "smaller" into "worse."
To do that well, it helps to know what's taking up the space in the first place.
What's actually making your PDF big
Open two PDFs of the same page count and one can be twenty times larger than the other. The difference is almost always what's inside.
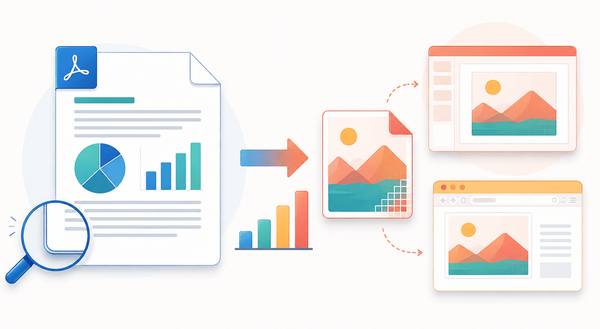
Images are the weight. Photos, scans, screenshots and high-resolution graphics account for the vast majority of size in most large PDFs. A single full-page photo can outweigh a hundred pages of text. This is good news — images are exactly what compresses well, so if your PDF is big because of images, it has a lot of room to shrink.
Text and vector graphics are featherweight. Actual text, and line-based graphics like logos and charts drawn as vectors, take up almost nothing. A hundred-page contract that's pure text might be under a megabyte already.
This tells you your ceiling before you start. An image-heavy PDF can often lose half its size or more. A text-only PDF is already small, and trying to compress it hard will save you almost nothing — not because the tool failed, but because there was never much weight there to remove. Knowing which kind you have sets a realistic expectation instead of a disappointed one.
Why "without quality loss" needs a footnote
Compression works in two ways, and the honest version of this topic acknowledges both.
The safe kind removes redundancy and waste — duplicated data, bloated structure, unnecessary metadata — without touching how anything looks. This genuinely costs you no visible quality. It's just tidying.
The trade-off kind reduces the images themselves — fewer pixels, tighter image compression. This is where the real size savings live, and also where quality can start to go if you push too far. A little is invisible. A lot shows up as soft photos or blocky detail.
That's why a good compressor offers levels rather than a single button. A gentle setting leans on the safe kind and light image reduction — smaller file, no visible change. An aggressive setting pushes the image reduction hard — much smaller file, but now you need to actually look at the result. Neither is "correct"; the right one depends entirely on what the document is for.
Picking your setting
Match the level to how much the visuals matter, not to how small you want the number.
Recommended / balanced is the right starting point for almost everything. It targets a strong size cut while keeping the document looking essentially unchanged. Try this first; most of the time you're done here.
Lighter compression is for when quality is non-negotiable — a portfolio, a print-bound file, a document where the images are the point. You save less, but nothing softens.
Extreme compression is for one situation: you need it under a hard limit and file size beats fidelity. Expect visible softening on photos. Perfectly fine for a scanned receipt or a rough draft; wrong for anything where the images matter.
Custom hands you the dial directly, which is what you want when the balanced setting undershoots the limit and extreme overshoots it. Nudge it until the size lands where you need and the preview still looks right.
The sensible approach: start at Recommended, check the result, and only reach for something stronger if you're still over your limit.
How to compress a PDF
- Open the compress tool.
- Select your PDF.
- Choose a compression level.
- Download the smaller file.
Reading the result — the part most people skip
After compressing, you get more than a smaller file: you get a readout of exactly what happened, and it's worth understanding rather than ignoring.
A before-and-after size comparison shows the original and compressed sizes side by side, so you can see at a glance whether you've cleared your limit. This is the number that actually matters — is it under the line?
A reduction breakdown shows how much was cut versus how much remains. A space saved figure gives the raw amount removed. A compression ratio — something like 1.37∶1 — tells you how many times smaller the file got. And a size reduced percentage sums it up as a single figure, like 26.8%.
Here's how to actually use those numbers. A modest reduction on an already-lean file is normal and fine — there wasn't much to remove, and the small result confirms that rather than signalling a problem. A large reduction on an image-heavy file is the tool doing its job. And if a percentage looks too dramatic on a photo-rich document, that's your cue to open the file and check the images before sending — a huge saving sometimes means the visuals took a bigger hit than you'd want. The numbers tell you whether to trust the result or go look at it.
When a PDF just won't shrink
Sometimes you compress and barely anything happens. Two usual reasons, and neither is a fault.
The file was already optimised — it came out of a tool that compressed it on the way out, so the easy savings are already gone. Or the file is mostly text, which was never taking up much space to begin with. In both cases the small result is the honest one; there simply isn't weight to remove. Pushing to Extreme won't conjure savings that aren't there — it'll just risk quality for a rounding error.
If you genuinely need a text-heavy PDF smaller and compression isn't delivering, the size is usually coming from a few embedded images or fonts rather than the text, and there's only so far it can go.
The scanned-PDF case
Scanned documents are often the biggest files of all, because every page is a full photograph. That also means they compress very well — there's a lot of image weight to trim.
The one thing to watch is legibility. Push a scanned page too hard and the text, which is really just pixels in a photo, starts to blur and gets harder to read. Recommended or a light custom setting usually shrinks a scan dramatically while keeping it sharp. Save Extreme for scans where readability isn't critical.
Worth noting for a different reason: compression makes a scan smaller, not searchable. The text in a scan stays locked inside the image either way. Making that text selectable and searchable is a separate job — OCR — and if that's what you actually need, compressing first won't get you there.
Get your PDF under the limit
Reducing a PDF's size is about landing under whatever limit is blocking you while the document still looks right — not chasing the smallest number. Know what's making it big (usually images), start with the balanced setting, read the before-and-after to confirm you've cleared the line, and only push harder when you're still over. Do that and you'll rarely trade away quality you needed.