How to Convert PDF to PNG (And Why Resolution Is the Whole Game)
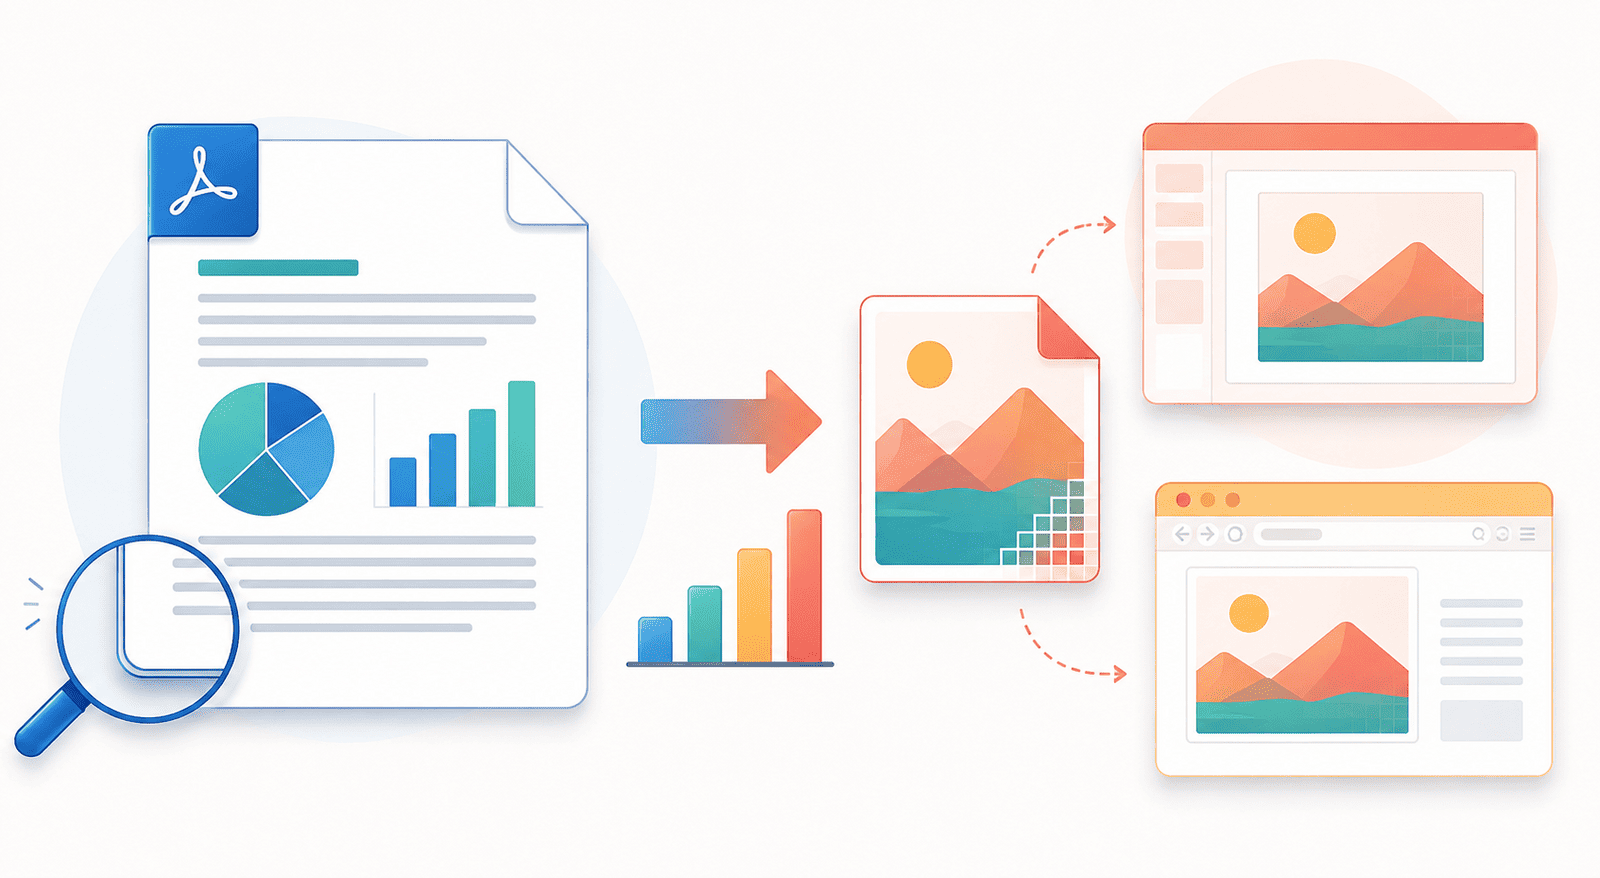
Turning a PDF page into a PNG means giving up something to gain something else, and it is worth knowing the trade before you make it.
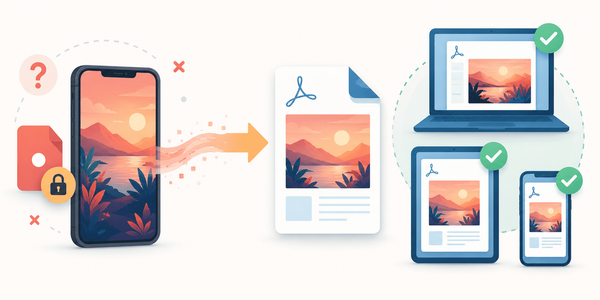
A PDF page is made of instructions: this text, in this font, here; this line, from here to there. Because it is instructions rather than pixels, it stays perfectly sharp at any size you view it. A PNG is the opposite. It is a fixed grid of pixels, a flat picture. Once a page becomes a PNG, it is no longer a document you can edit or search. It is an image, and an image goes places a PDF cannot: straight into a slide, a web page, a chat message, a design file, pasted anywhere an image is welcome.
That is the deal. You trade the editable, searchable, infinitely sharp document for a picture that drops in anywhere. When that trade is worth it, PNG is often the best image format to make it with, and getting one setting right decides whether the result looks crisp or disappointing.
First, know which of two things you actually want
The tool does two related but different jobs, and it is easy to search for one while meaning the other.
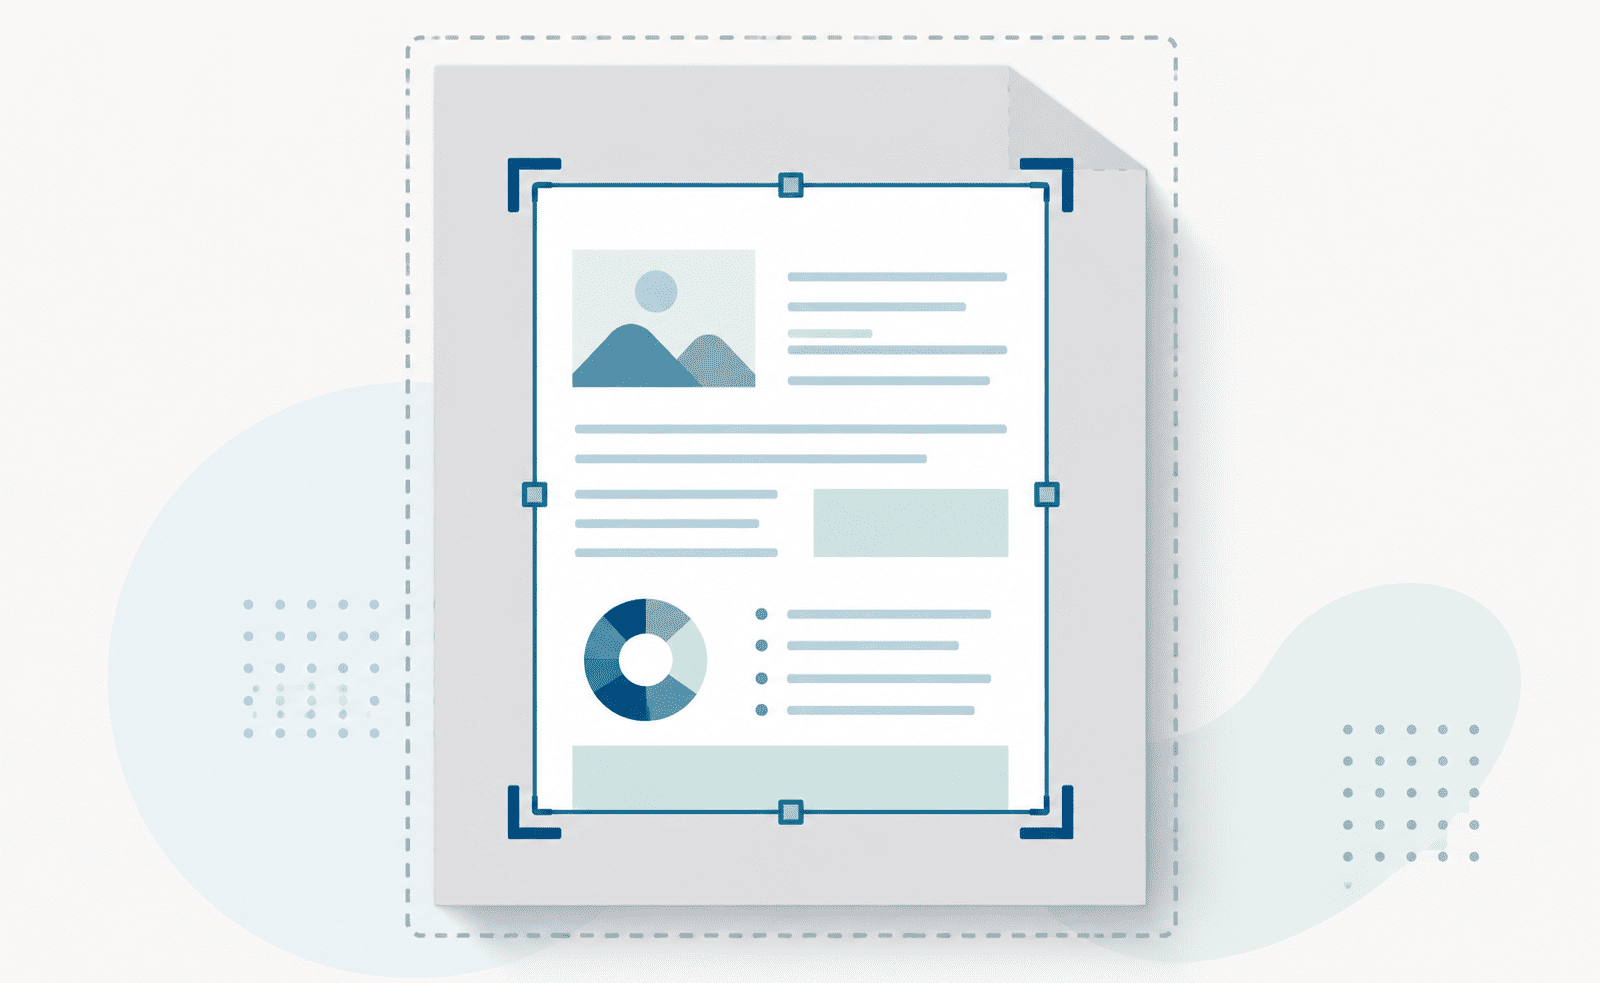
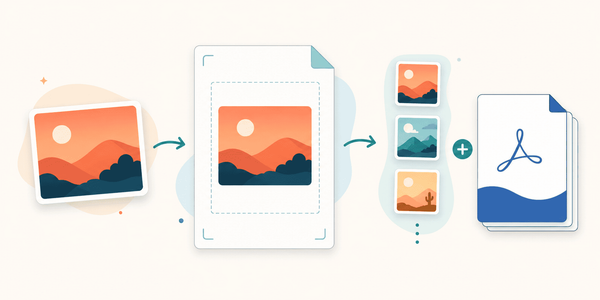
Converting pages to images takes each page of the PDF and renders the whole page as a PNG, exactly as it looks, text and layout and all. This is what you want when you need a picture of the page: a slide showing a document, a preview image, a page posted as a graphic.
Extracting images from the PDF pulls out the photos and graphics that were embedded inside the document, on their own, without the surrounding page. This is what you want when you need the pictures that are in the PDF, not a snapshot of the pages.
The quick test: do you want a picture of the page, or the pictures on the page? The first is page-to-PNG conversion, the second is extraction. Reaching for the right one saves you cropping a full page down when you only wanted the photo on it, or the reverse.
Why PNG rather than JPG
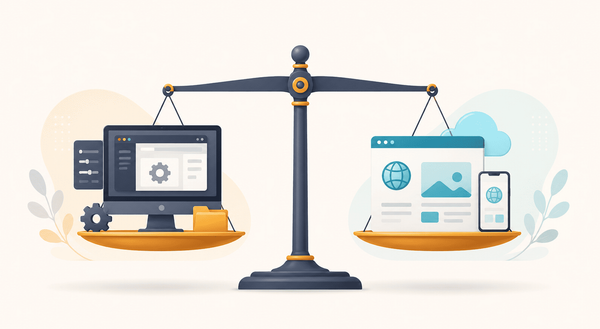
If you have decided on an image, the next question is which image format, and PNG and JPG are the two usual choices. They are good at different things.
PNG is lossless and stays sharp. It reproduces the page exactly, with crisp edges on text, clean lines on diagrams and tables, and no fuzziness. It also supports transparency. For a page that is mostly text, lines, charts or screenshots, PNG is the right choice, because those sharp edges are exactly what JPG struggles with.
JPG is smaller but softens detail. It compresses by throwing away fine detail, which is barely noticeable on photographs but shows up as a slight blurriness or halo around text and hard edges. It makes smaller files, so it suits pages that are essentially photographs.
The simple rule: if the page has text, tables, or line art, choose PNG for the sharpness. If the page is basically a photo and file size matters, JPG is fine. For most documents, PNG is the safer pick.
Resolution is the setting that actually decides quality
Here is the part most people overlook and then wonder why their image looks soft or why the file is enormous. Because a PNG is a grid of pixels, the number of pixels, the resolution, sets how sharp it can be. This is measured in DPI, dots per inch, and it is the single biggest lever on the result.
There are four levels to choose from:
Low (72 DPI) is a screen-only resolution. It makes small, light files that are fine for a quick preview or a thumbnail, but they will look soft if enlarged or printed.
Medium (150 DPI) is the default, and it is the sensible middle ground for most on-screen uses: clear enough to read comfortably, without a heavy file size. If you are not sure, this is the right starting point.
High (300 DPI) is print quality. This is what you want if the image will be printed, or if someone needs to zoom in and still see crisp text. Files are larger, which is the fair price for the sharpness.
Very High (600 DPI) is for when you need maximum detail: fine print, detailed line work, professional reproduction. The files get big, so reach for it only when you genuinely need that level, not by default.
The way to think about it: higher DPI means a sharper image and a larger file. Match it to the destination. Screen use is happy at 150, printing wants 300, and 600 is for the demanding cases. Choosing more than you need just gives you a heavier file with no visible benefit.
How to convert PDF to PNG
- Open the PDF to PNG tool.
- Select your PDF.
- Choose a resolution (150 DPI is a good default), and optionally set an output file name.
- Convert and download.
Because a PDF can have many pages and a PNG holds one image, each page becomes its own PNG. When there is more than one page, the images come back together in a single download so nothing gets lost.
What you give up, and how to get it back
It is worth being clear about what changes when a page becomes a PNG, so there are no surprises.
The text stops being text. In the PDF you could select it, search it, and copy it. In the PNG it is just part of the picture, so none of that works any more. The page also loses its ability to scale without limit: it now has a fixed resolution, and enlarging it past that point makes it blurry. And it is no longer editable as a document.
For most reasons people convert to PNG, none of that matters, because they wanted a flat image in the first place. But if you later need the words back as real, usable text, that is a separate job called OCR, which reads the text out of an image. Converting to PNG and then wanting the text again is common enough that it is worth knowing the path exists.
Convert your PDF to PNG
Converting a PDF page to a PNG turns an editable document into a flat image that drops in anywhere, which is exactly what you want for slides, web pages, and previews. Choose page conversion rather than extraction when you want a picture of the page, pick PNG over JPG when the page has text or line art, and above all match the resolution to where the image is going: 150 DPI for screen, 300 for print. Get the DPI right and the rest takes care of itself.