How to Convert JPG to PDF (And Get the Page Right, Not Just the Image)
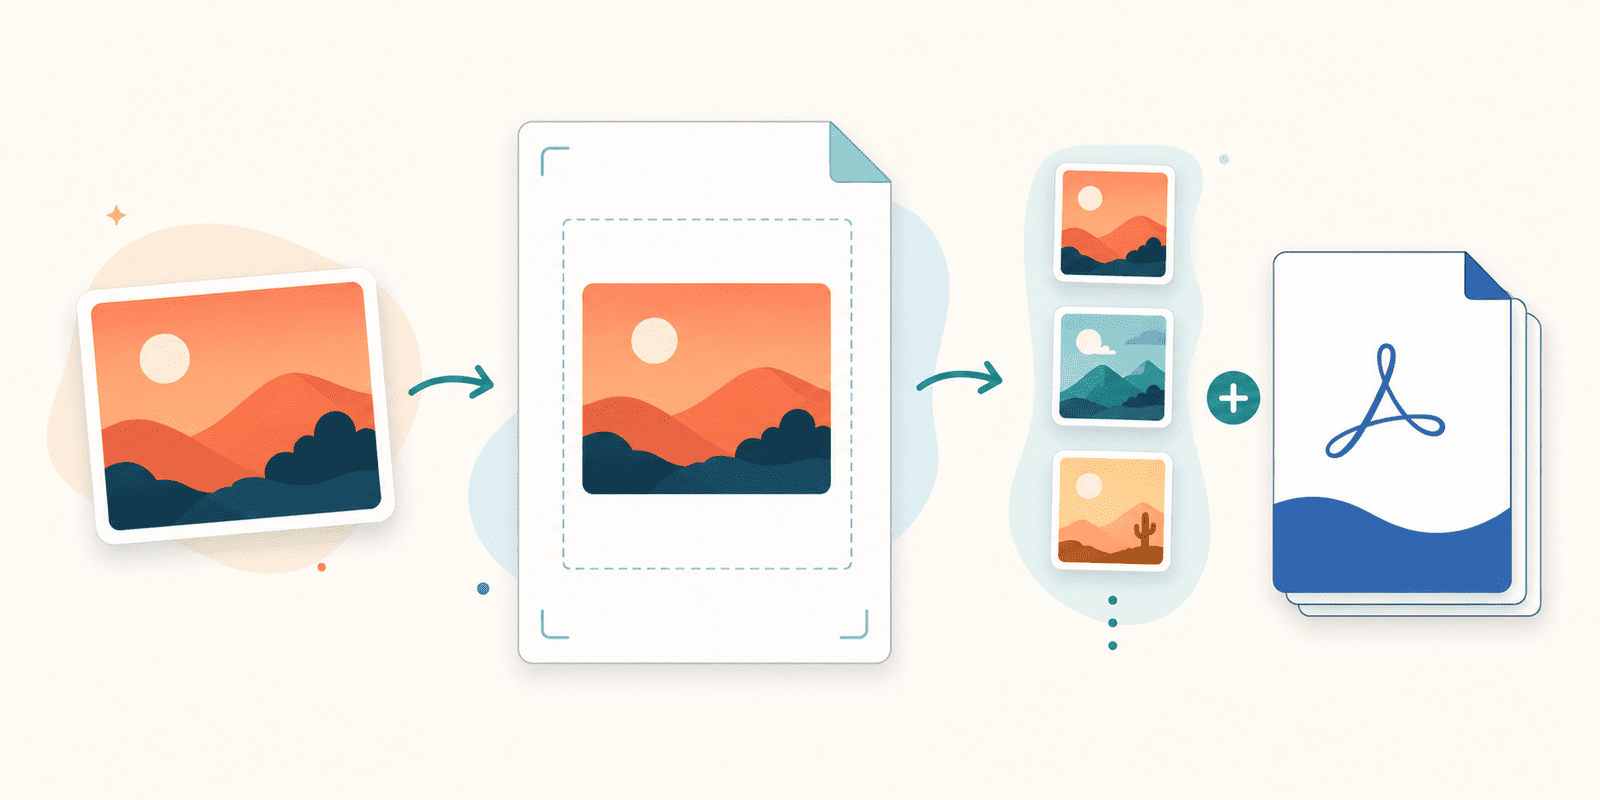
Turning a JPG into a PDF sounds like it should be a single button, and technically it is. But the button is the boring part. What actually decides whether you get a clean document or an awkward one is what happens to the page around your image — and that's the part most people never think about until the result looks wrong.
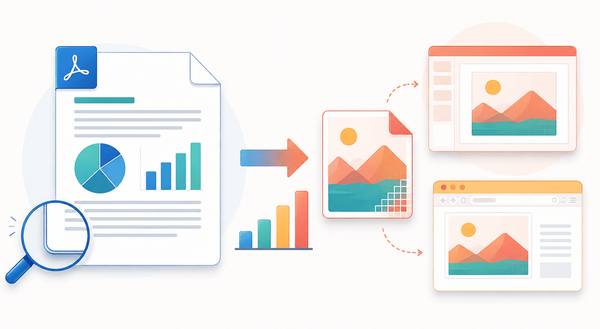
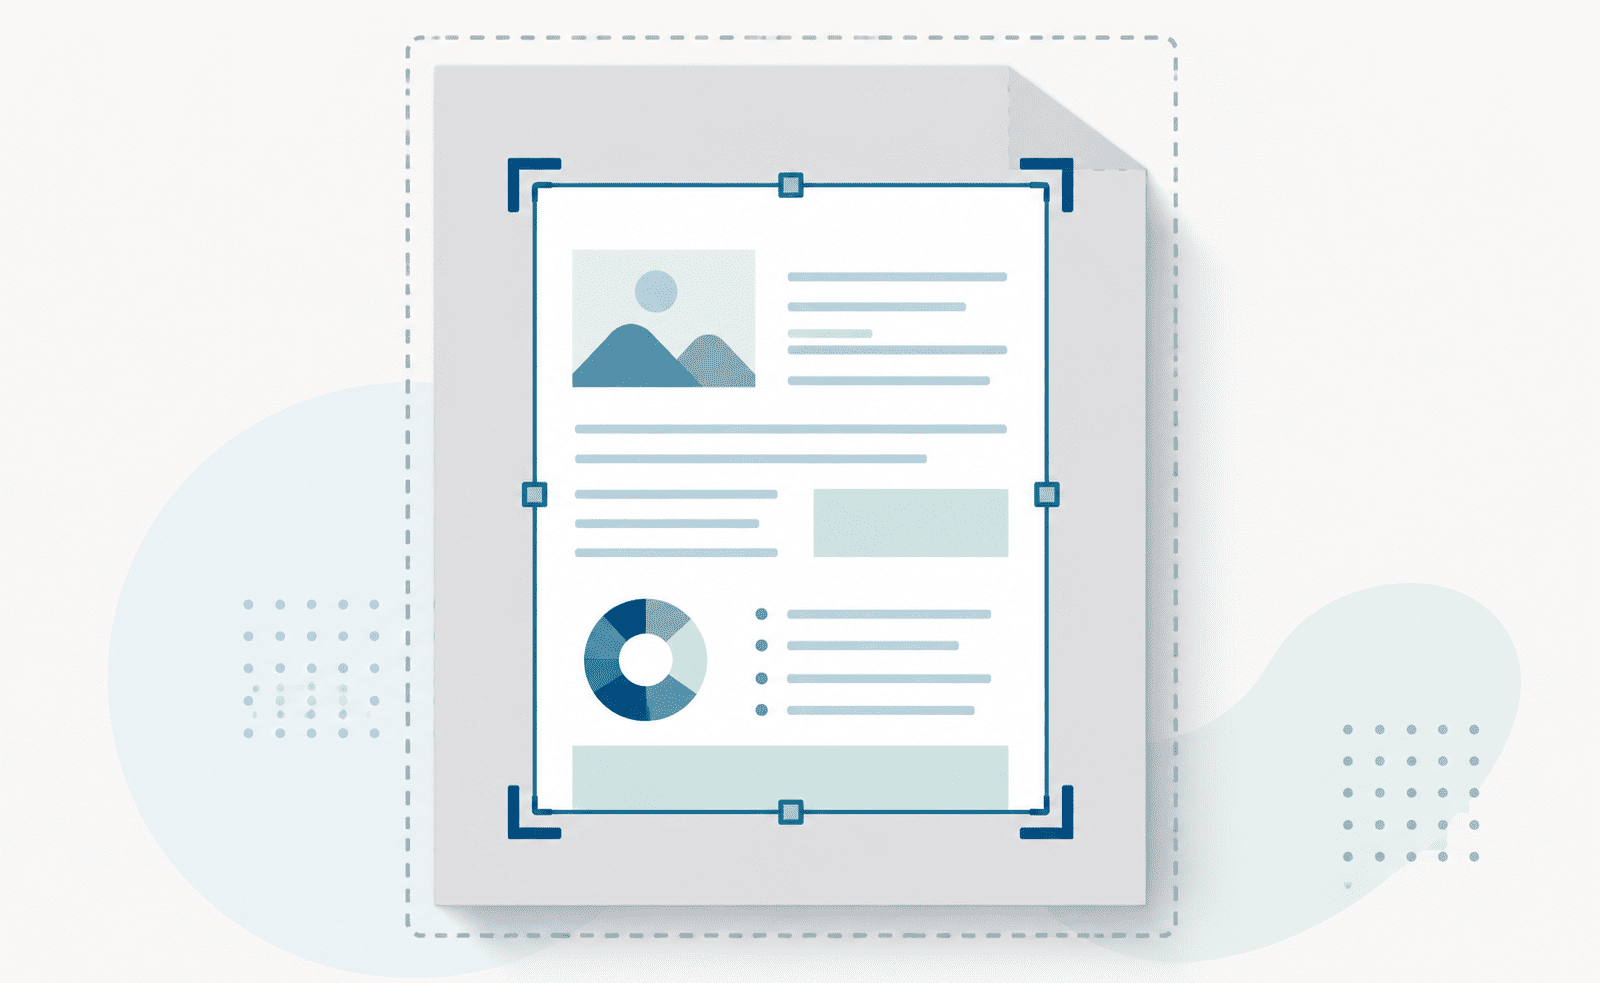
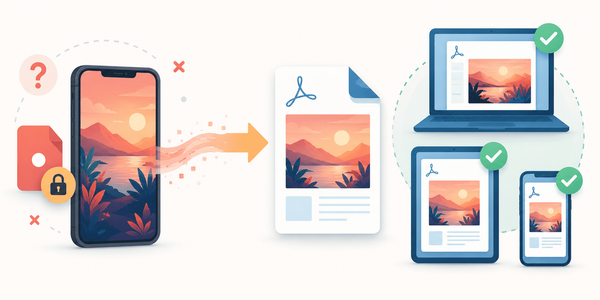
A JPG has no page. It's just an image with a width and a height. A PDF, on the other hand, is built around pages — a page has a size, an orientation, and margins. So converting a JPG to a PDF isn't really a conversion at all; it's placing your image onto a page. And how you place it is a set of small choices that make the difference between a photo that sits neatly on an A4 sheet and one that's stretched, cramped, or floating in the wrong shape.
Here's how to get those choices right.
Why a JPG needs a page built around it
When you convert, the tool takes your image and puts it on a PDF page. Everything that follows is about defining that page. The good news is that sensible defaults are already set, so if you just convert and download, you'll get a reasonable result. The options are there for when "reasonable" isn't quite what you need — and understanding them takes about a minute.
The four choices that shape the page
After you select your image, a handful of optional settings appear. None are mandatory, but each controls something worth knowing.
Orientation — portrait or landscape. This should match the shape of your image. A tall image (a phone photo, a document, a receipt) belongs on a portrait page; a wide image (a landscape shot, a screenshot of a wide window) belongs on landscape. Match the page shape to the image shape and it sits naturally; mismatch them and you get a small image marooned in a large empty page.
Page size — A4, Letter, and others. This sets the physical dimensions of the page. A4 is the world standard and the right default for most uses. Choose Letter if the PDF is bound for the US, or a specific size if you're targeting a particular print format. If the PDF will only ever be viewed on a screen, the size matters far less — pick A4 and move on.
Margins — none, small, medium, or large. This is the space between your image and the edge of the page. "None" lets the image run to the very edge, which suits a photo you want filling the sheet. A small or medium margin gives it a clean border, which usually looks more deliberate and prints more safely, since some printers clip right at the edge. Large margins shrink the image within the page — occasionally what you want, often not.
File name — optional. You can name the output file so it downloads with a sensible title instead of a generic one. A small thing, but it saves renaming later, especially when you're making several.
Merging several images into one PDF
There's one more option worth its own moment: a checkbox to merge all images into one PDF file.
Leave it unchecked and each image becomes its own separate PDF. Tick it and all your images are combined into a single multi-page PDF, one image per page, in order. This is the setting that turns a folder of photos into one tidy document — a set of receipts into an expense PDF, a batch of scanned pages into one file, a series of screenshots into a single shareable document.
If you're converting more than one image and they belong together, this is almost always the box you want.
How to convert JPG to PDF
- Open the JPG to PDF tool.
- Select your image or images.
- Optionally set orientation, page size, margins, and whether to merge into one file.
- Convert and download.
That's it. Skip step three entirely and you'll still get a clean PDF on sensible defaults; use it when you want the page to come out a particular way.
One thing to check: is your image actually a JPG?
This tool is built specifically for JPG images — files ending in .jpg or .jpeg. That's the most common photo format by far, so most of the time you're fine. But images arrive in a lot of formats, and it's easy to assume something is a JPG when it isn't. A screenshot is often a PNG. A photo straight off a recent iPhone is frequently HEIC, not JPG. A logo might be an SVG.
If you know your file is a JPG, this is the tool for the job. If you're not sure what format your image is, or you're working with a mix of formats, there's a broader tool for that: the image to PDF tool accepts JPG, PNG, BMP, TIFF, GIF, SVG, WebP and HEIF. When in doubt about the format — or when your images aren't all the same type — that's the one to reach for, and it handles the page in the same way.
A quick run-through: receipts into one expense PDF
Say you've photographed six receipts and need to send them as a single file.
Open the JPG to PDF tool and select all six images at once. They're phone photos, so portrait orientation and A4 suit them. A small margin gives each receipt a clean border rather than bleeding to the edge. Tick "merge all images into one PDF file" so they become one document instead of six. Name the file something like the month's expenses so it's obvious later. Convert, download — one PDF, six pages, ready to send.
Convert your JPG to PDF
Converting a JPG to a PDF is really about placing your image onto a page and deciding how that page should look. Match the orientation to your image's shape, keep A4 unless you have a reason not to, give it a small margin for a clean edge, and merge multiple images when they belong together. And if your files aren't actually JPGs, reach for the broader image tool instead. Get those small choices right and the result looks intentional rather than accidental.